• 1216 words
• By
Honestly, I prefer to have audio-based meetings and calls when I can. Video calls, Zoom or Meet meetings, are also great for remote distributed teams, though. We get a chance to connect and gain more context from expressions and reactions.
I wanted to upgrade my webcam setup, and happen to have an older Canon DSLR lying around that doesn’t get much use nowadays. So, it made sense to put it to use as an external video source on my MacBook Pro to up my video quality!
Being a bootstrapper at heart, making budget-friendly purchases is always top of mind. So, I truly bought the bare minimum to get things setup. However you choose to go about it, it really shouldn’t cost that much to get started, and you can always upgrade if/when needed down the road. I’m not making video content, and/or my work video meetings aren’t extremely frequent, so this setup outlined works just fine for me.
This post outlines how I connected my Canon DSLR camera as an external webcam to my laptop.
Table of Contents:
- What’s Needed: Camera, USB Cable (or HDMI/Camlink), Tripod/Mount
- Download + Setup Canon EOS Webcam Utility Software
- Setup Camera and connect USB to laptop
What’s Needed: Camera, USB Cable (or HDMI/Camlink), Tripod/Mount
As mentioned, I have a Canon EOS Rebel T6 DSLR camera with an EFS 18-55mm lens and that’s what this post will primarily cover setting up. Yet whatever camera setup you have, there’s likely a first-party or third-party supported software and/or hardware out there to will fit your needs.
Thankfully, with my Canon + Canon’s software (more about Canon webcam software below) mini USB is fully supported to set this up as an external webcam. No big barrier to entry at all! I purchased this particular USB cable on Amazon ($7.99 - 6-foot mini USB) which is quite versatile and compatible with most Canon DSLRs. Do check product details/reviews to ensure yours is also compatible!
Perhaps it better suits your needs from the get-go to get something like the popular HDMI tethering device ‘Camlink’ (~$125-150). Chris Coyier wrote a blog post about his setup using HDMI Camlink + an Elgato keylight.
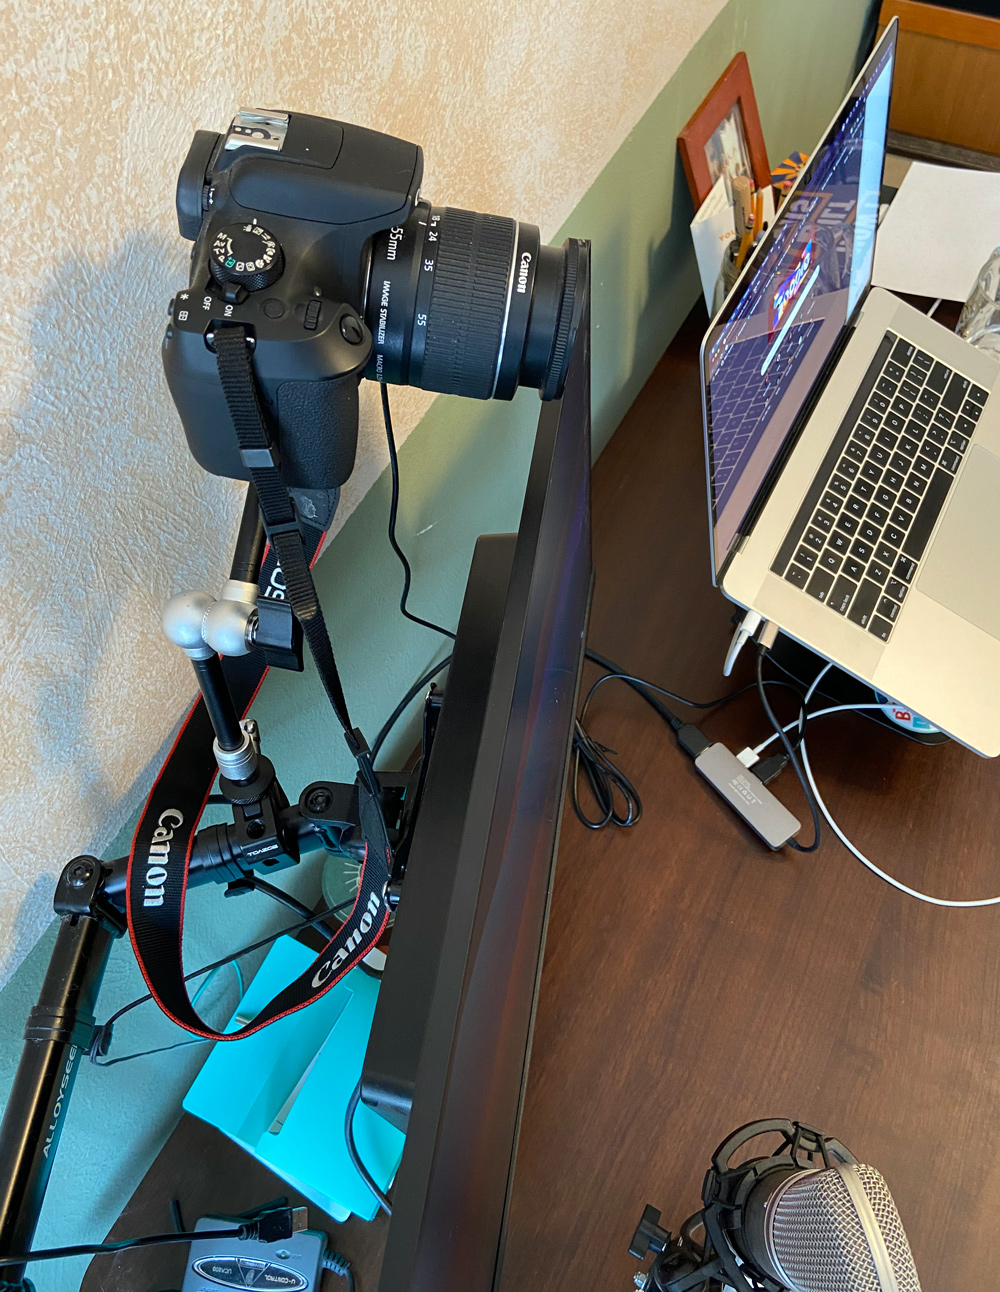
Next you’ll need some sort of camera mounting/tripod system. Whether you do-it-yourself/macgyver some camera tripod setup yourself (I’ve definitely done this on tripod setups in the past) or you buy a new one, this will be needed. Again, not needing a professional video studio setup for my use-case, I bought this basic, yet versatile DSLR desk clamp mount on Amazon ($29.90 - 11” adjustable arm (pictured below)).
Bonus tip: I heard from a colleague that getting an external camera battery adapter is a good idea so that your camera’s battery doesn’t die halfway through a call, and with it you won’t have to worry about charging your battery anymore. I didn’t get one of these AC power adapter kits right away, yet may eventually.
Download + Setup Canon EOS Webcam Utility Software
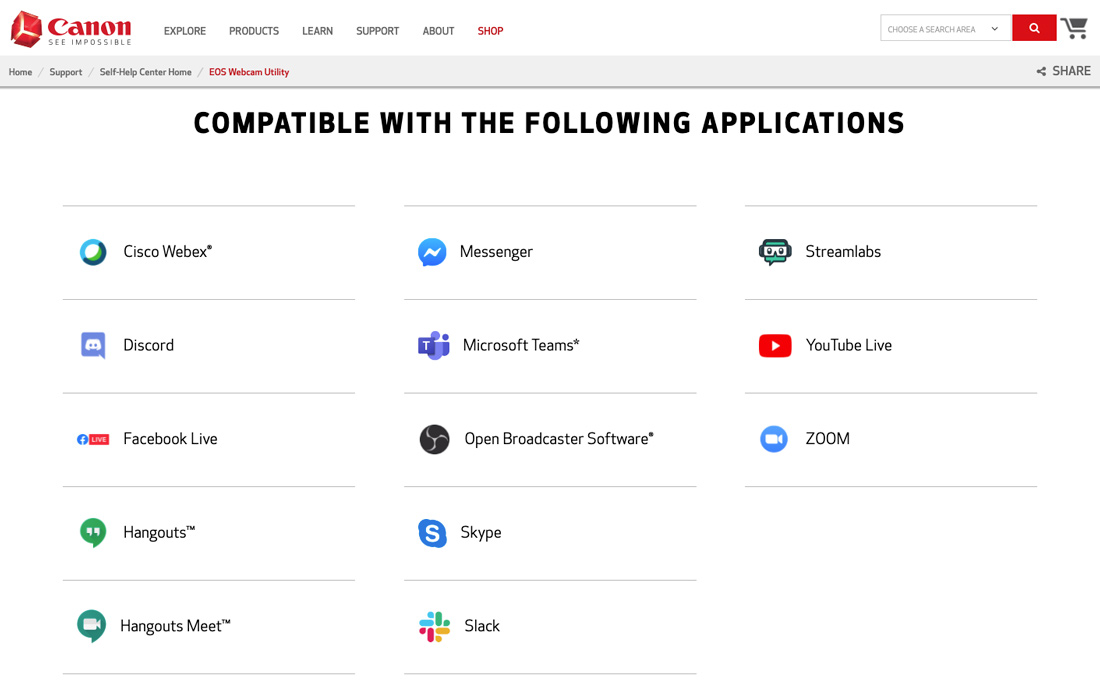
In 2020, Canon announced both a Windows and macOS webcam utility software that allows you to easily get started with 1. Canon EOS DSLR 2. USB cable 3. Canon’s Software. Here’s a link to download either operating systems’ Canon webcam software. It lists compatibility with Zoom, Hangouts/Meet, Teams, Skype, Messenger, YouTube Live, Slack, and on - covering most use-cases when using this external DSLR webcam setup.
Steps to download Canon’s Webcam Utility software:
- Select operating system - Windows or macOS (macOS Big Sur v11 in my case, kind of…note on this below)
- Select your compatible Canon EOS model (EOS Rebel T6 in my case)
- Download the applicable software, go through install
- Follow prompts to restart computer
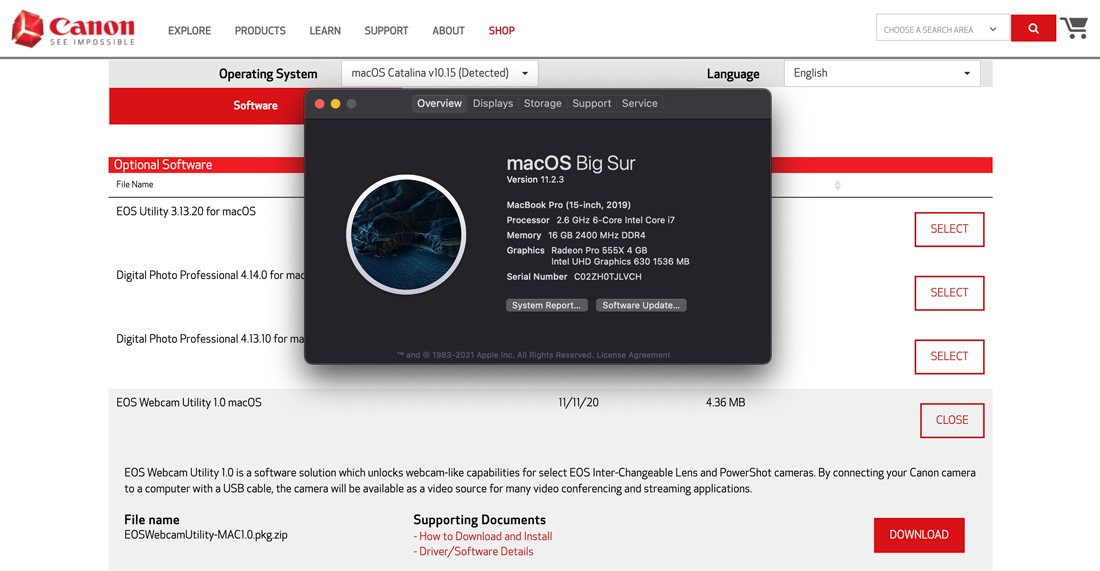
macOS Big Sur tip when installing Canon’s Webcam Utility
Note: On Canon’s software download page, after selecting my compatible camera, I selected macOS Catalina even though I am on macOS Big Sur (see photo, above). Canon’s Webcam Utility software does not yet support v11+ as of April 2021. But actually it kind of does…everything is working just fine with this Catalina version on Big Sur. And one more tip is to ensure your camera has WiFi/NFC disabled to work correctly.
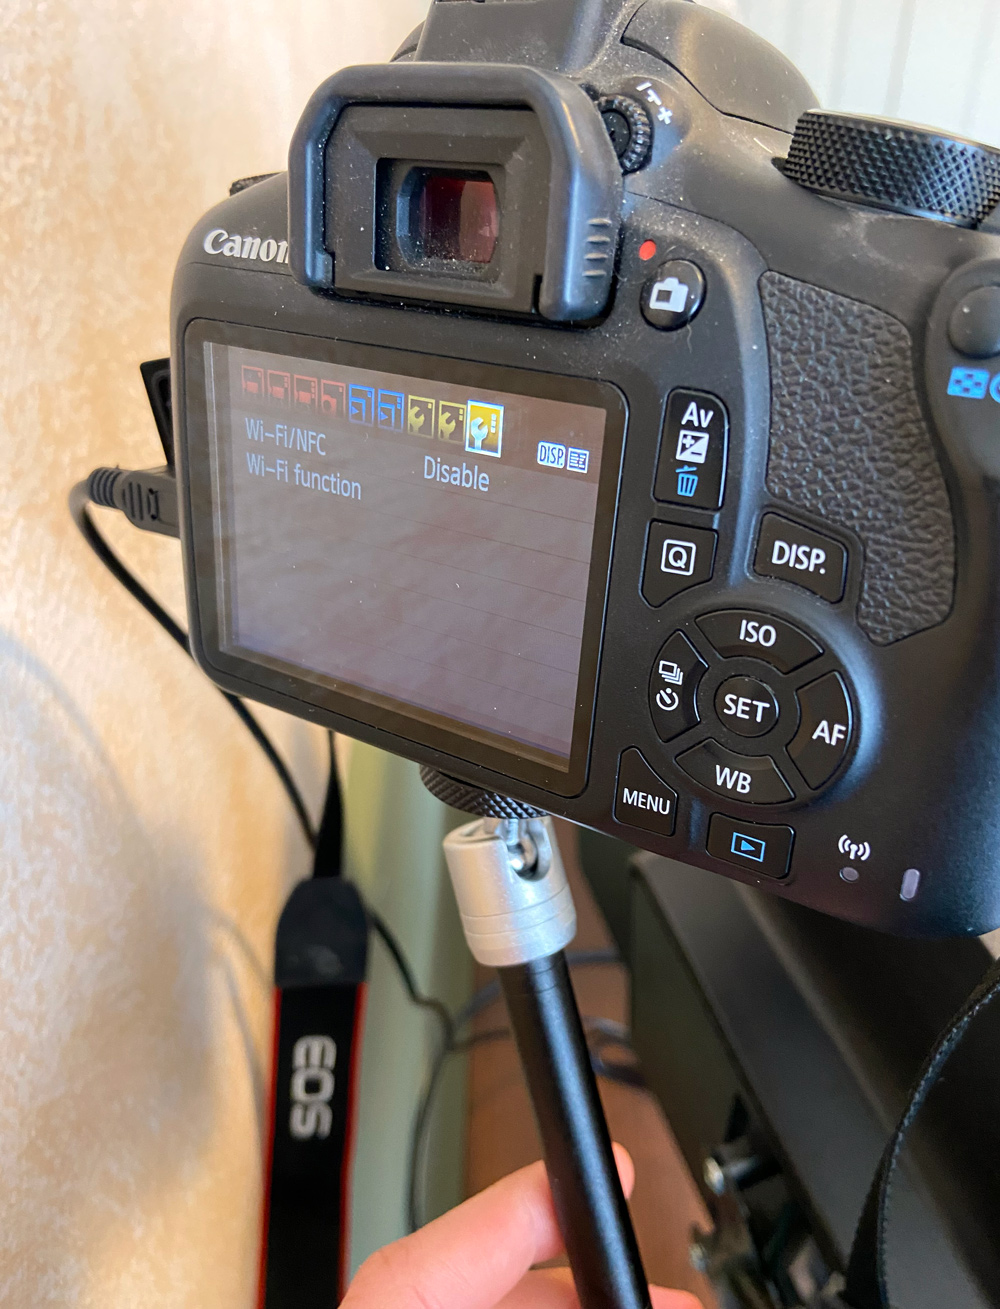
Trust me, I had to do a decent amount of troubleshooting to figure this out, but shoutout to this helpful video for answering my question. Again, disable WiFi/NFC on your Canon camera for this to work! 📸
Other camera’s software: If you’re not using a Canon, here’s links to some other make’s first-party softwares.
- Sony Imaging Edge Webcam Utility
- Fujifilm X Webcam Utility
- Nikon Webcam Utility
- Olympus OM-D Webcam Utility
- Panasonic Lumix Thether for Streaming
A final option for macOS users is a Camera Live + CamTwist setup. There’s a good write-up about this CamTwist OSS setup here (you’ll need to know some basics around using a command line/terminal).
Setup Camera and connect USB to laptop
Once the 1. software download is complete, and 2. you’ve finished your camera-to-workstation mounting/tripod setup, you’ll need to 3. get your camera hooked-up for being an external/mirrored webcam on your laptop.
- Set Camera to ‘Movie Mode’ (with full HD setting)
- I set mine to 1920x1080, 30fps (Zoom recording output a 720 video, though)
- Set to Auto or adjust exposure, ISO, etc. to your liking
- I originally had mine on Canon’s Auto focus, yet changed to Manual after testing
- Connect mini USB to camera and then to laptop or dongle/hub
In case you missed it in the tip above, make sure that you have disabled WiFi/NFC on your Canon. You may then need to disconnect/reconnect the USB cable to get a signal after making this Menu/settings change.
Open Zoom or another app supported by Canon’s Webcam Utility and then change your system’s video source settings via zoom.us > preferences > video > select ‘EOS Webcam Utility’ on camera dropdown. Try turning your camera on/off and/or disconnect/reconnect the cable to your laptop if things don’t register right away.
My test video after getting things setup
And that’s it, you should be all set! In my case, beyond the original cost of my Canon camera (shoutout to a Costco holiday bundle a few years ago), this was all achieved for less than $40 and just took an hour or two one afternoon. I’m looking forward to putting things to use in future video calls and meetings!
Thanks for checking this out! Subscribe to my newsletter for more like this.